Getting started
Install BuildPrint, open the menu, load your first schematic, turn on the printer and set your keys.
What you need #
- Minecraft 26.1, 26.2 or 26.3, or any version from 1.21.1 to 1.21.11
- On Fabric: Fabric Loader 0.16 or newer and Fabric API. Mod Menu is optional, for the settings in the mod list.
- On NeoForge: nothing else. NeoForge is for 1.21.1, 1.21.3, 1.21.4, 1.21.5, 1.21.8, 1.21.10 and 1.21.11 and 26.1.2 to 26.3; 1.21.2, 1.21.6, 1.21.7 and 1.21.9 never had a finished NeoForge, so use Fabric there. All versions are listed on the BuildPrint page.
Install #
- Install Fabric Loader or NeoForge for your Minecraft version.
- Download BuildPrint from Modrinth: the file for your Minecraft version and your loader. On Fabric, also get Fabric API.
- Put the files in the
modsfolder of your Minecraft folder. - Start the game.
With the Modrinth app or another launcher that reads Modrinth, installing BuildPrint picks the right file and pulls in Fabric API for you.
New versions go up on Modrinth and CurseForge at the same time, but CurseForge checks every file first, which can take days. If the menu looks different from the pictures here, you probably have an older version.
The first start #
The first time you join a world, a short walkthrough opens. Go through it: it takes a minute and covers what the rest of this page explains, with small live scenes instead of text. It asks whether you are new to this or know Litematica and shows a different tour for each, lets you turn easy place, easy break and placing in mid-air on, and lets you set your keys right there. If you used Litematica before, it offers to bring over your placements.
Skipped it, or want to see it again? Type /buildprint onboarding in chat, or click Start next to Walkthrough in the Help tab of the settings. Esc leaves it at any time.
How it works #
- Load a schematic. Press B and pick a file. It shows in your world as a see-through ghost.
- Put it where you want it. Press G for the editor, click the ground where it should go, and drag it or turn it until it sits right.
- Build it. Place blocks on the ghost. The colors show what is missing or wrong, and Easy place or the printer make it faster.
Each step is below.
Load a schematic #
- Press B to open the menu (old: M, up to 0.1.25).
- In the Local tab, pick a file and click Load, or double-click it. No files yet? Drop one onto the game window, or open the Marketplace tab and click Place on a build.
- The build appears as a ghost where you stand.
Put it where you want it #
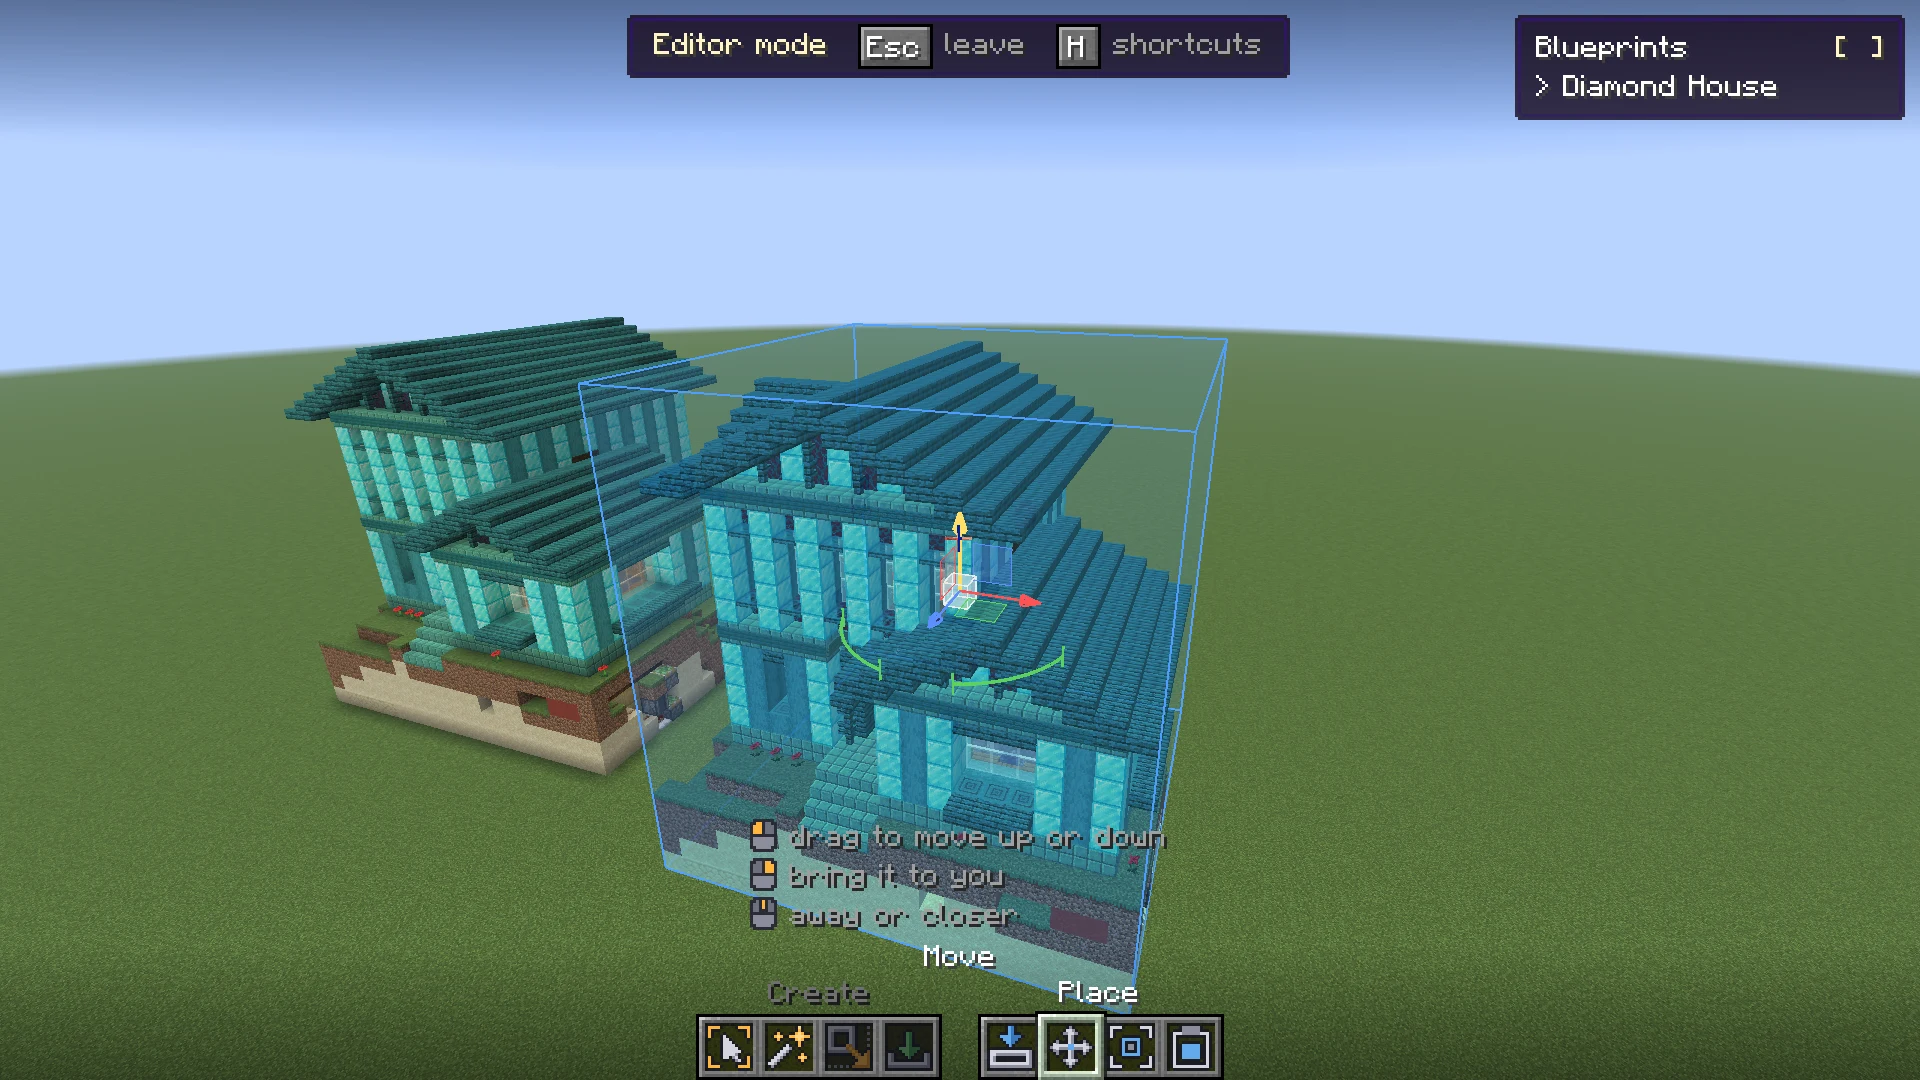
- Press G to open the editor. The camera flies free, so you can look from any side.
- Press 5 for Place and left-click the ground where the build should go.
- Press 6 for Move. Drag the colored arrows to slide it into place, and click a green arc to turn it a quarter. Right-click the white cube in the middle to mirror it.
- Press Esc when it sits right.
Picking a build back up that is already partly built? Auto align (7 in the editor) finds the blocks that are standing and puts the ghost on them. More ways, and the details, are on Moving and aligning.
The menu #
- Press B to open it, and Esc or Done to close it.
- Local lists the files in your schematics folder.
- Loaded lists the builds in this world. Move, turn, hide or unload them here. Builds in other dimensions are folded away at the bottom of the list.
- Marketplace has builds from other players, ready to place.
- The gear at the bottom right, next to Done, opens the settings. See Settings.
/buildprint configopens them too.
The menu and the settings start in the Minecraft look. The VoxelSprout look, dark, light or the same as your computer, is one click away in the settings. Both show the same things.
Build it #
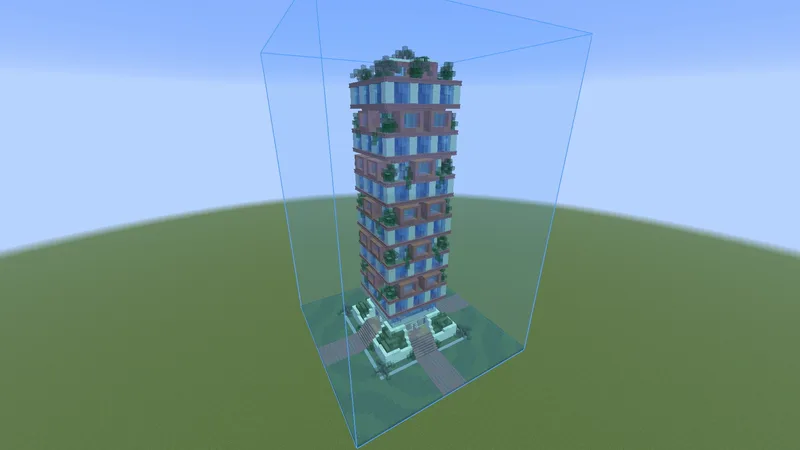
- Place blocks by hand on the ghost. The colors show what is wrong.
- Open Materials in the Loaded tab to see what you need. Gather there keeps what is still to get on screen while you go out for it. See Material list.
- Press N for Easy place and right-click the ghost to place the right block.
- Use the Layer view to work through the build one layer at a time.
Let it place blocks for you #
The printer places the missing blocks around you while you move through the build. It is off until you turn it on.
- Press B and click the gear at the bottom right.
- In the Building tab, under Printer (automation), turn on Printer mode (auto-build).
- Close the settings and walk or fly through the build, with the blocks in your inventory.
The printer places blocks for you. Many servers count that as cheating. Check the rules of the server before you use it. It is off by default.
The Presets tab of the settings sets easy place and the printer for how you play in one click: Survival on a server, Survival on your own or Creative. See Settings.
Set a key #
B, N, G, K, . and , work from the start. Up to 0.1.25 the menu was M and the editor B; a key you set yourself stays as it was. The printer, easy break, the view filter, the status panel, container contents and hiding builds have no key until you give them one. A key for the printer saves going through the settings every time.
The quickest way is the walkthrough (/buildprint onboarding): its shortcut pages say what each key does, and you click a key and press the one you want. A key that something else also uses shows in red. Or set them in the game's Controls screen:
- Press Esc and open Options..., Controls... and Key Binds..., in that order.
- Scroll down to the BuildPrint group.
- Click the button next to the action, for example Toggle Printer, and press the key you want.
- A key shown in red is also used by something else. Pick another one, or change the other one.
- Click Done.
Pressing the printer key shows Printer ON or Printer OFF above the hotbar. On a server that turned the printer off, it tells you that instead. See Servers.
Every key is on the Shortcuts page.
Next, you may want to
Something missing or wrong on this page? Say so on Discord.